Testing Environments
Helpful Wiki Pages
- Extra Repositories that may be needed for test scenarios
Hardware
For testing purposes hardware compatibility is a particularly important concern if you have an older or custom-built system. Because hardware specifications change almost daily, it is recommended that systems should be checked for compatibility. The most recent list of supported hardware can be found in the Red Hat Hardware Compatibility List, available online at https://access.redhat.com/ecosystem/search/#/category/Server. Also see Red Hat Enterprise Linux technology capabilities and limits for general information about system requirements.
As a general rule just about any hardware will suffice as a Standalone test machines or as a host for a virtual environment.
For sme10 a minimum of 4gb of RAM is recommended, you can try with less but may have issues when testing under load, eg backup and restores of large file sets.
Install ISO for Testing or Bug Verification
Its simple for those who do this regularly, it can be a bloody mine pit for someone who doesn't 🙂 very easy to kill a test system and no way to get out but wipe and start again, please don't be put off, if nothing else it sure educates you on the blackmagic in koozali/sme
1. Install current iso that is available from the Koozali webssite - Downloads
2. Once installed, use SSH, SSH access must be enabled with the /server-manager, set remote access to allow, from the cli run a # yum update (DO NOT enable any repos) there can be many mb of updates depending on age of iso, on occasion ie very very rarely smeserver-yum may also need updating first, it may be in smeupdates-testing or updates, so a heads up a quick look under the hood can save a world of grief, Koozali Repository eg
# yum update smeserver-yum --enablerepo=smeupdates-testing
3. Make sure to reboot/reconfig
# signal-event post-upgrade; signal-event reboot
4. Best practice is to select a Bug that need verifying, See the Dashboard in the wiki, update the package with the updated rpm listed in the Bug
# yum update e-smith-base --enablerepo=smeupdates-testing (ONLY this)
5. Now for the fly in the ointment - sometimes, rarely, there will be a package in /smetest that fixes a borked update in smeupdates-testing, that situation can arise with any update, these will appear in smeupdates-testing eventually, it is alwways a good idea to check in /smetest for a later version of a package.
6. If you issue the following
# yum update --enablerepo=smeupdates-testing
you will update ALL the packages that have been updated or added and need testing, every new/modified rpm - a danger Will Robinson moment if there ever was one - this not recommended but can be useful to carry out overall testing of the system or Contrib updates/import testing and verification BUT beware you could also kill your test box VM 🙂
Contribs Testing
For testing of contribs a simple install and yum update should be sufficient to prepare the test environment, however it may also be necessary to also include a yum update from /smeupdates-testing as well, this will become apparent when attempting an install of an updated contrib.
Contribs for testing will usually be found in the /smedev /smetest repos, all will have a Bug to track the update.
https://bugs.contribs.org/show_bug.cgi?id=11272
yum install smeserver-nfs --enablerepo=smetest,smeupdates-testing
- Warning only install an updated contrib with a specific command referencing the /smedev and /smetest repos, NEVER just do a yum update --enablerepo=smedev,smetest this will most certainly render your system akin to a dead parrot.
Those contribs found in the /smetest repo will generally be able to be installed and tested for functionality, report all findings in associated Bug. Those contribs in /smedev may still have a degree of instability and may install but not run, again all results to relevant bug.
Any contrib that has been moved to the sme10 contribs repo should be fully functional, again there will be a Bug that may still be open to track any issues, use it.
Have fun..always learning
VM Setups
VirtualBox
Content to be done
Microsoft Windows
Content to be done
MacOS
Very remiss of me (Terry Fage) in not mentioning the MacOS setup was captured and written up by Chris (I wont list his username unless he wants to) I simply copied pasted, we need more Chris's
Create a new Virtual Machine, choose 'Linux' as the type, 'Other Linux (64-bit)' as the version and set the memory to at least 1GB, ideally 2GB+ as ClamAV on its own needs ~1GB.

Set your new drive to at least 10GB, leave it as VDI, Dynamically Allocated

Once the machine's created, go into Settings -> System. Change the Chipset type to ICH9

Under System -> Processor, bump it up to 2 CPUs if your machine supports it

By default, under storage you'll have an IDE controller. Hit the X at the bottom to remove it

Add an AHCI controller in its place

Set the port count to 2, then hit the + disk icon on the controller

Choose the VDI created in the machine setup

Do the same with the CD icon. Choose the SME ISO if you've already added it to Virtual Media Manager. If it's not there then hit 'Add' and browse for the ISO

Disable audio. Not mandatory, but you're not going to need it

Choose a 'bridged' network adapter and make sure it's attached to your host's main network connection. This way your VM will because like a normal machine on your network and you can SSH to it

You're done - fire up the VM and the installer should start
Note - when the machine reboots you may see a 'critical error' (unless it's just my Hackintosh being weird). This is fine - just hit Ok and start it up again

Linux
Content to be done
Proxmox
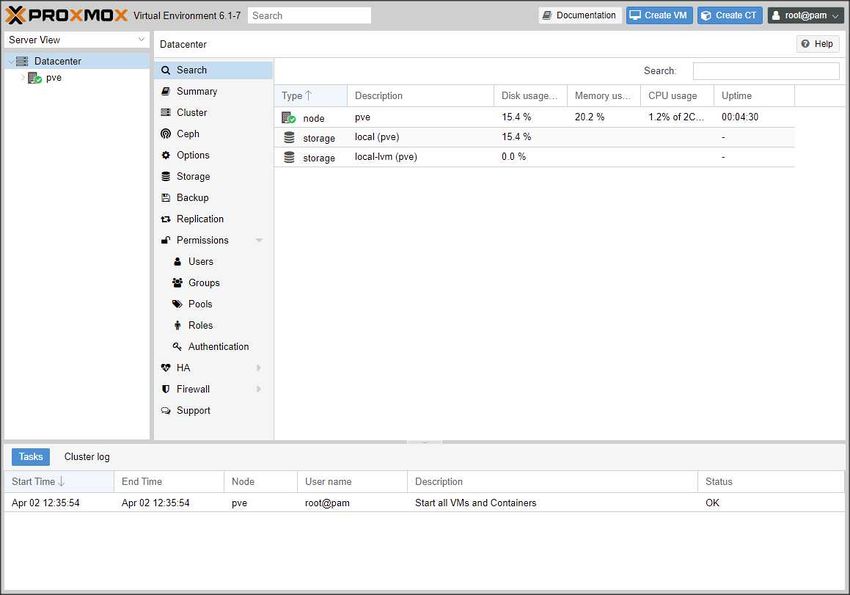
Proxmox VE is a complete open-source platform for all-inclusive enterprise virtualization that tightly integrates KVM hypervisor and LXC containers, software-defined storage and networking functionality on a single platform, and easily manages high availability clusters and disaster recovery tools with the built-in web management interface.
Install Proxmox #.# to suitable hardware - see proxmox wiki for details of setup
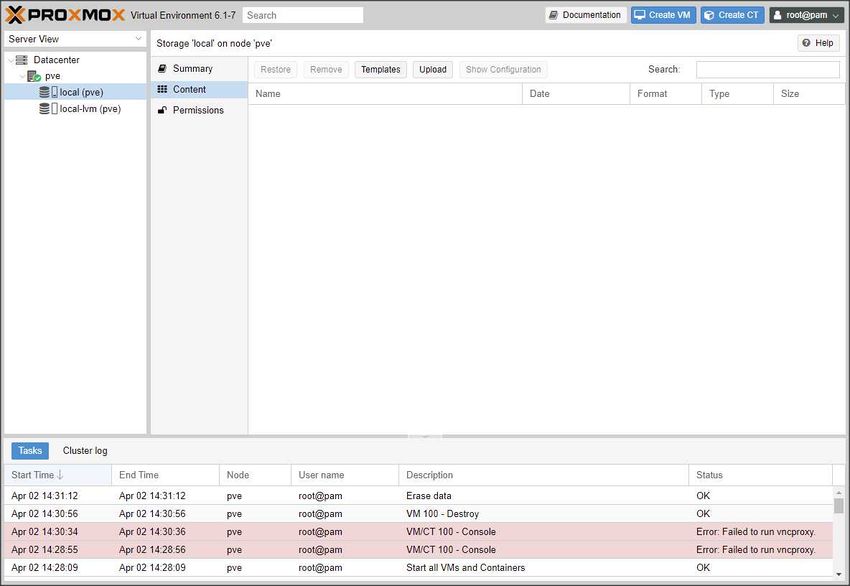
Start Proxmox, login as root, before creating a new VM there needs to be a relevant iso image available from pve storage to act as a install CD/DVD, this and other OS isos needs to be uploaded to pve local storage

Select upload button
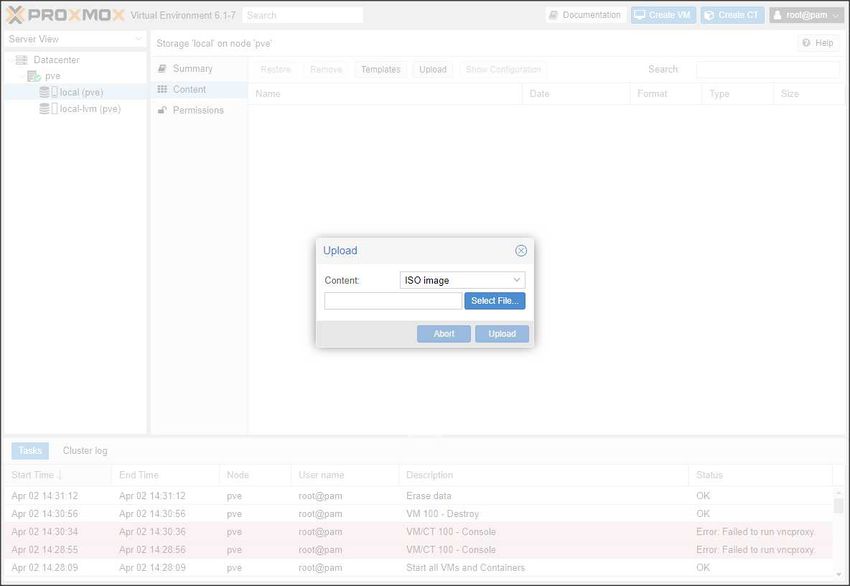

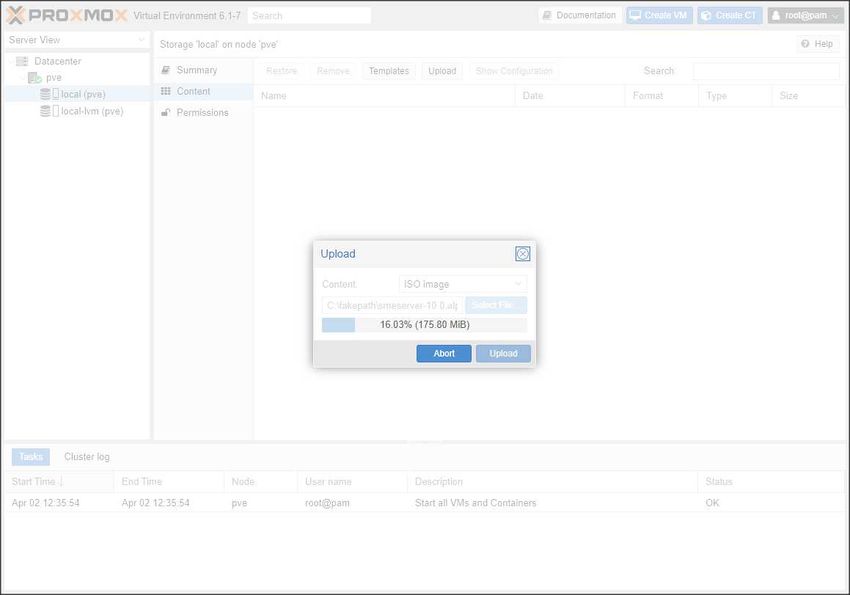
Select a suitable iso and upload

Install/configure Koozali SME9/10 VM on proxmox VE
If not already running Start Proxmox and login as root, Select Create VM button in top right corner

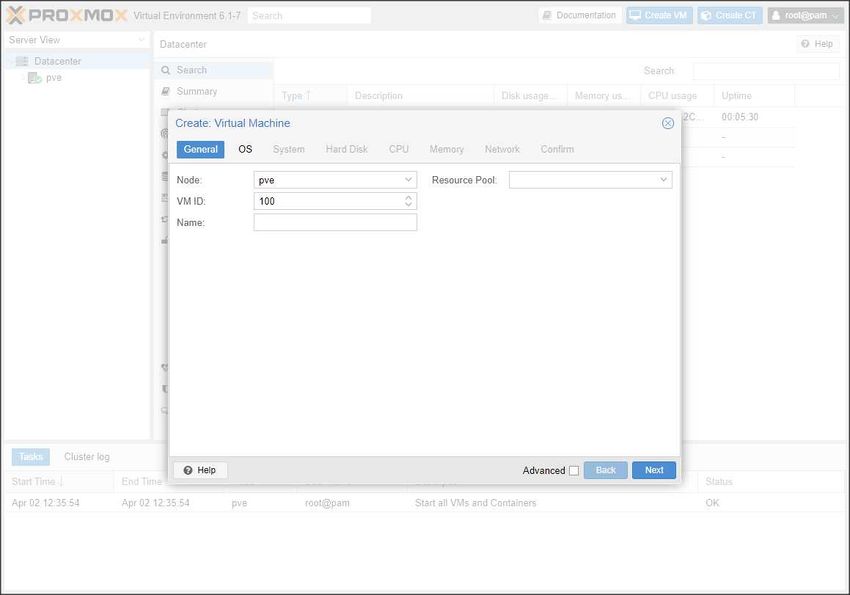

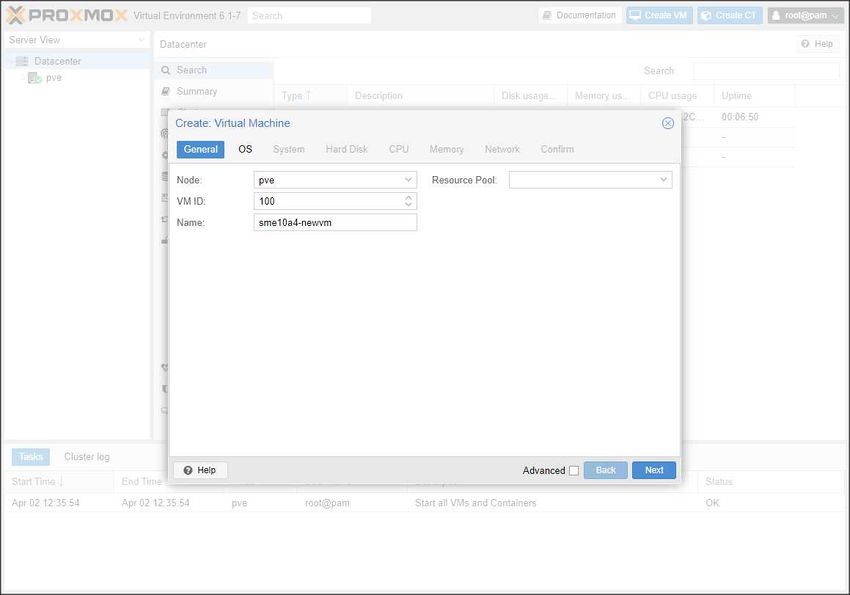
Enter name details of new VM

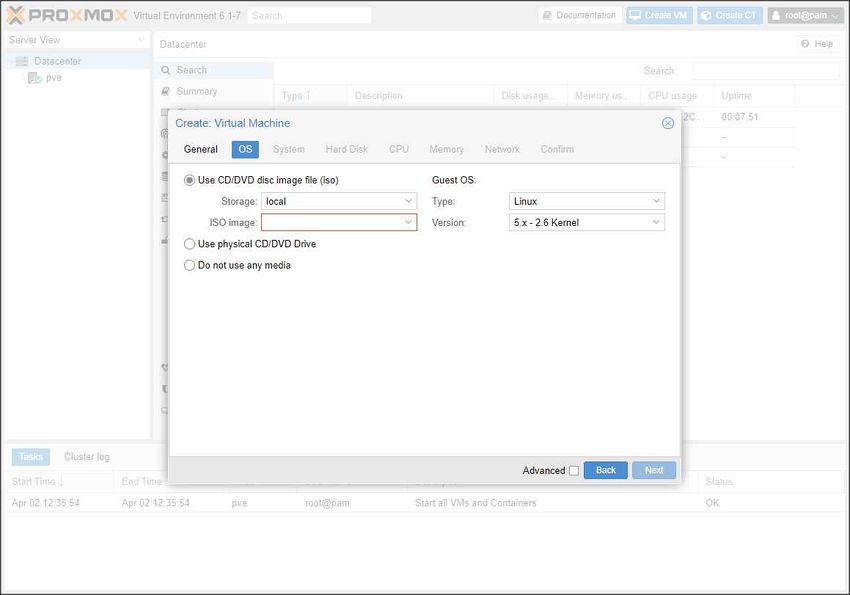
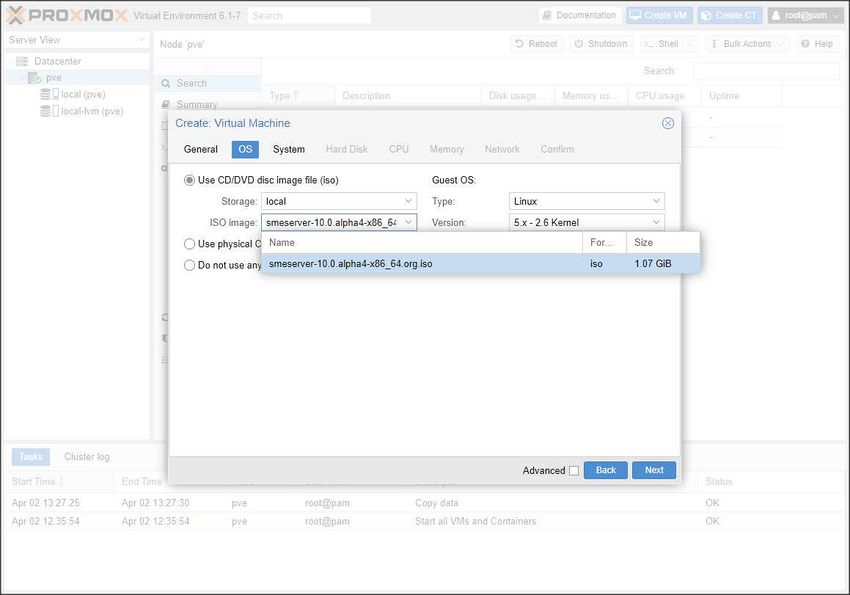
Select CD/DVD image file to use as install source


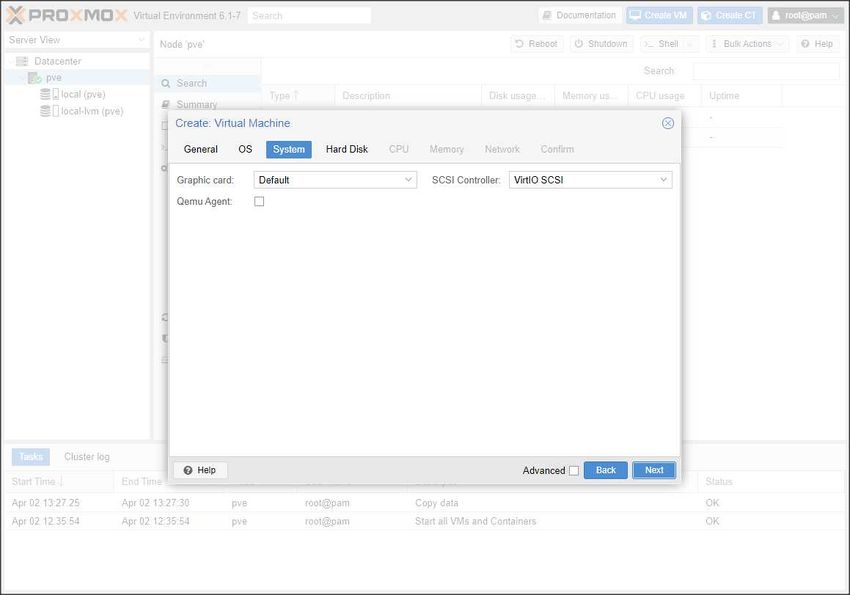
VM System, safe to accept defaults

Hard disk details, type/size - min of 10gb will suffice for a SME10 install


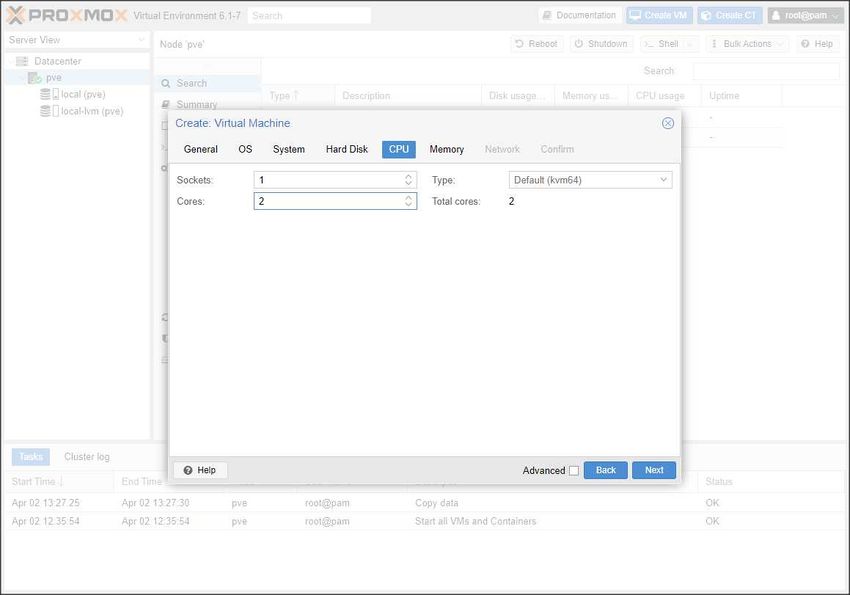
CPU depending on hardware the more the better - 1 Socket 2 cores sufficent

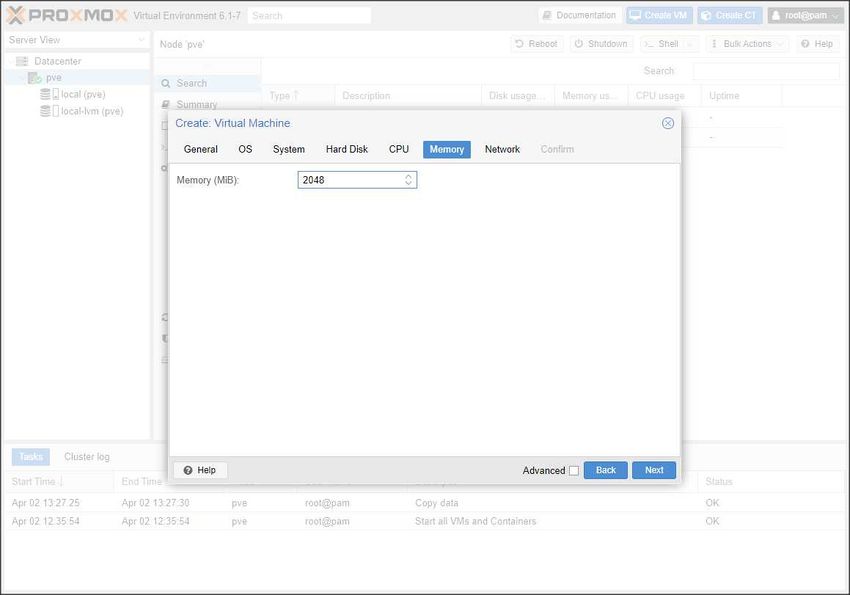
Memory - minimum for sme10, 1024mb will operate sluggishly, 2048mb preferred minimum, 4096mb ideal

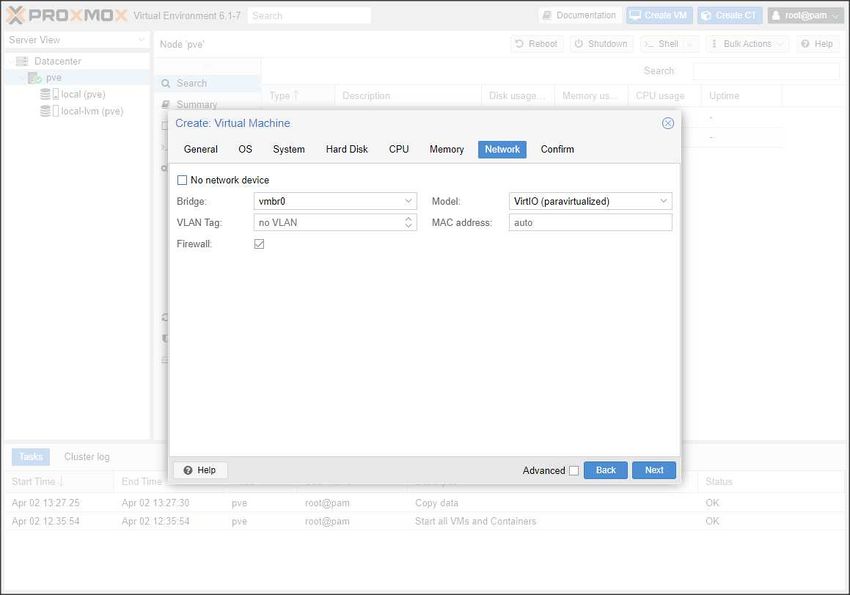
Network setting defaults are safe to use

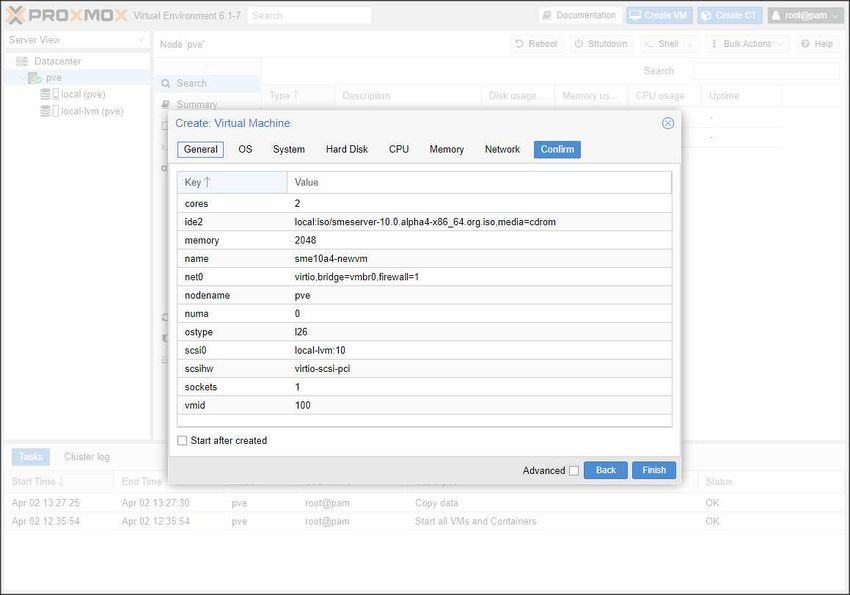
Summary of settings

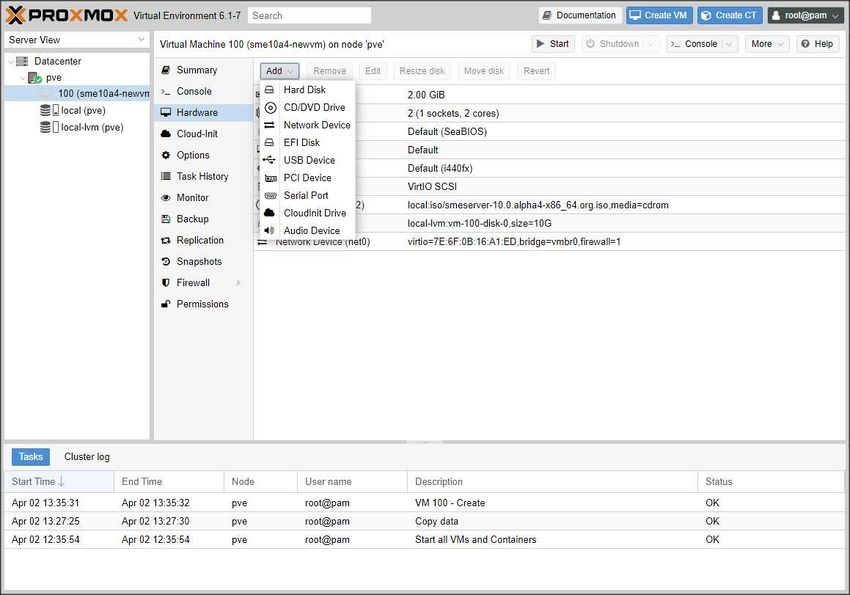
Additional Hardware, Add extra hardware, change hardware settings

We will use the vmbr0 that is set up, but we need to create a dummy one so we can put SME in server/gateway mode and use Daniels scripts:
- Create a new network interface and call it vmbr1
- Do NOT set IP address/subnet/bridge ports etc.
- Create your KVM for SME. Make sure that you give it two network adaptors - one is vmbr0 and one is vmbr1
- vmbr0 should have the following settings :
- Model: virtio
- MAC: 10:10:00:00:20:20 (as per your mac that you set)
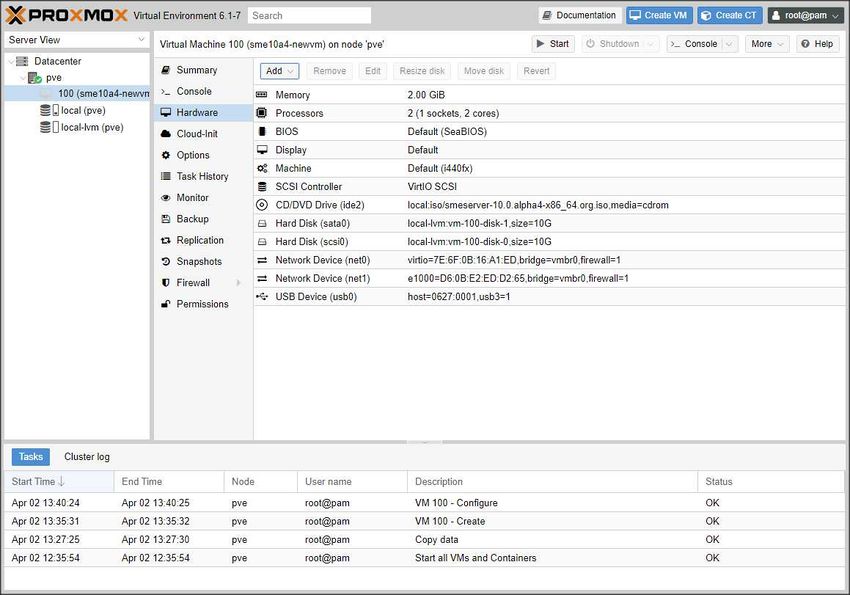
- After you have created the KVM add a second adaptor:
- vmbr1 should have the following settings:
- Model: virtio
- MAC: should be the MAC of your main IP address
It doesn't matter which one is 0 or 1 as long as the settings are correct.

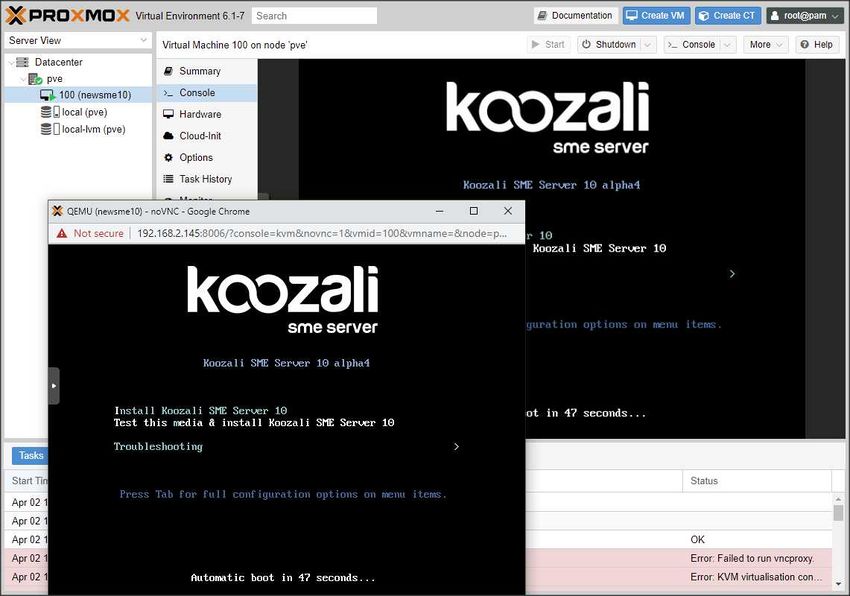
Select console and push start button, install will begin, interact as normal
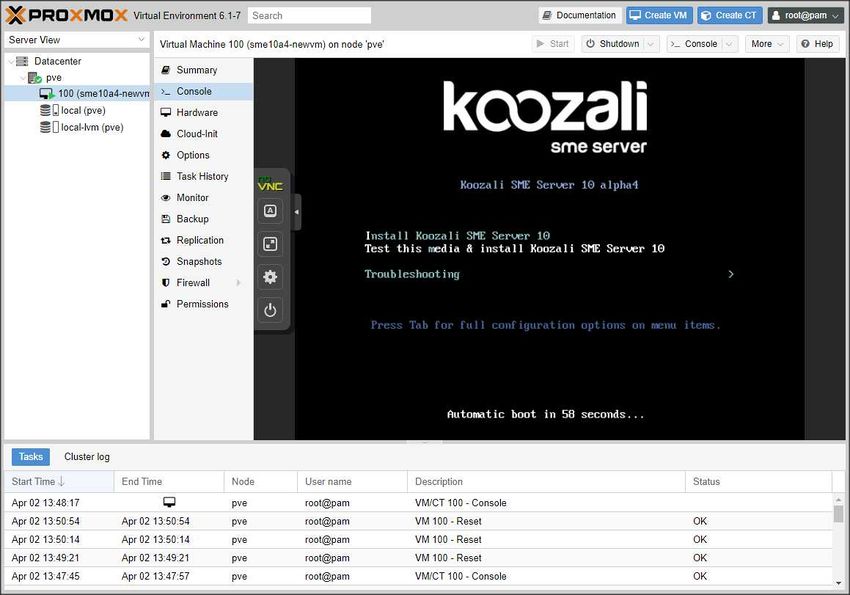

A standalone terminal window can be seletced by selecting from top right menu - console- no vnc